-
![Compute]()
Compute
Configure a popular Linux OS or use popular developer Tools
-
![Cloud hosting]()
Cloud hosting
Host a VPS in the Cloud in seconds
-
![Collaborate, CMS, CRM`s]()
Collaborate, CMS, CRM`s
Collaborate with these popular CMS, CRM & collaboration tools
-
![Database & E-Commerce]()
Database & E-Commerce
Create a database or an E-Commerce environment in seconds

TABLE OF CONTENTS
Prerequisites
This guide is going to cover configuring an Ubuntu 18.04 KVM Server and installing Pterodactyl Panel on it to host game servers. First things first, you will need to download a copy of Ubuntu 18.04's ISO file. Head on over to the official Ubuntu downloads page --> https://ubuntu.com/download/server
Once you have the file downloaded, open your VPS dashboard at https://skysilk.com/dashboard/images and click on the Create VPS button.

Select your plan class and then click on the Upload ISO button at the top of the page.

Click on the dropdown that says Select OS Type and pick Modern Linux. You can now press Upload New OS Image. A small window will appear asking you to select your Datacenter. After you confirm your choice, a window will open that asks you to select the ISO you wish to upload. Select your ISO and press open.

This process will likely take some time depending on your connection speed. Once it completes, we can finish setting up our basic VPS options below. Select your plan and give the VPS a name. Once it is finished setting up, we will use the VNC button from our dashboard to complete the installation of the Ubuntu Server.
When the VNC window opens and connects, you will be presented with an installer that will guide you through setting up your system. For more specific instructions on installing Ubuntu Server, we recommend the official documentation starting from Step #4. https://ubuntu.com/tutorials/tutorial-install-ubuntu-server#4-choose-your-language

Once you reach the above step, press enter to reboot the machine. You will be prompted to remove the installation media - when this comes up press enter. A moment or so will pass and the machine will boot.
Updates and Install
When this is completed we can continue with installing our updates and packages.
After the boot is finished, press enter and you should be prompted to log in with the user you created before. Once we're logged in we will update the system with:
sudo apt update && sudo apt upgrade
Firewall Access
The next step is to make sure that we configure UFW to allow SSH connections and then to enable it so we can switch to our favorite terminal.
sudo ufw allow ssh
sudo ufw enable
Required packages
Now we can continue with SSH for ease. We're going to install our dependencies and Composer:
sudo apt install curl php7.2 php7.2-cli php7.2-gd php7.2-mysql php7.2-pdo php7.2-mbstring php7.2-tokenizer php7.2-bcmath php7.2-xml php7.2-fpm php7.2-curl php7.2-zip mariadb-server nginx tar unzip git redis-server
curl -sS https://getcomposer.org/installer | sudo php -- --install-dir=/usr/local/bin --filename=composer
Then we will create a folder for our panel to live in and download the panel software:
mkdir -p /var/www/pterodactyl
cd /var/www/pterodactyl
curl -Lo panel.tar.gz https://github.com/pterodactyl/panel/releases/download/v0.7.16/panel.tar.gz
tar --strip-components=1 -xzvf panel.tar.gz
sudo chmod -R 755 storage/* bootstrap/cache/
Installing the panel
NOTE: Please only run the php artisan command with a clean panel install with a fresh database
cp .env.example .env
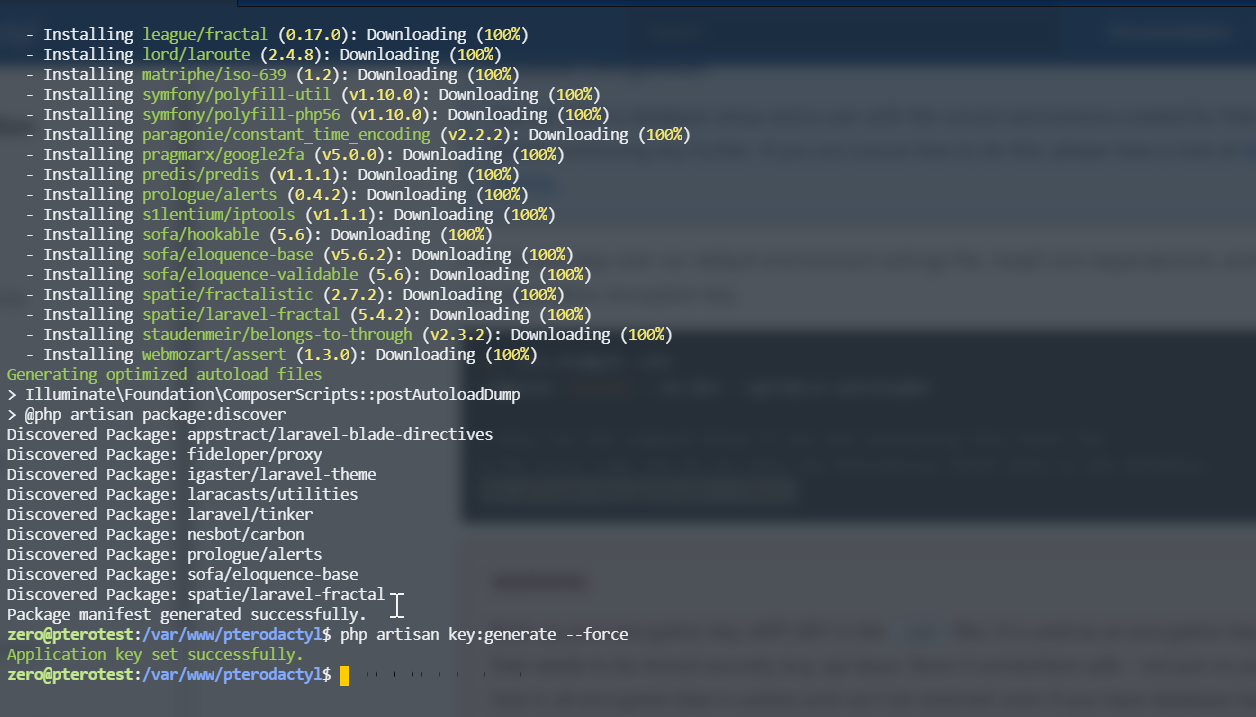
composer install --no-dev --optimize-autoloader
php artisan key:generate --force
Note from Pterodactyl's Official documentation: "Back up your encryption key (APP_KEY in the .env file). It is used as an encryption key for all data that needs to be stored securely (e.g. api keys). Store it somewhere safe - not just on your server. If you lose it, all encrypted data is useless and can't be restored, even if you have database backups"
Database Setup
Now we will set up our MariaDB/MySQL Database user and Database to use for the panel.
sudo mysql -u root
use mysql;
flush privileges;
CREATE DATABASE pterodactyl;
CREATE USER 'username-that-isn't-pterodactyl' IDENTIFIED BY 'changethispassword';
GRANT ALL PRIVILEGES ON *.* TO 'username-that-isn't-pterodactyl' IDENTIFIED BY 'changethispassword';
FLUSH PRIVILEGES;
SHOW GRANTS FOR 'username-that-isn't-pterodactyl';
We will continue with setting up and configuring the database. It's recommended that you configure the mail setting to use an SMTP server/relay, however, PHP's mail function will work for development purposes.
php artisan p:environment:setup
php artisan p:environment:database
php artisan p:environment:mail
PLEASE NOTE: The command below may take some time to run depending on your machine. Please DO NOT exit the process until it is completed!
php artisan migrate --seed
Making our first Admin User
It's time to create our first Pterodactyl Administrative User. A note from the official installation documentation: "At this time passwords must meet the following requirements: 8 characters, mixed case, at least one number."
php artisan p:user:make
Setting File Ownership
One of the last steps for setting up the panel is to ensure that the files are properly owned for our webserver. Run this command in the pterodactyl folder at /var/www/pterodactyl
chown -R www-data:www-data *
Configuring Cron
Now we will configure Cron to process our pterodactyl tasks.
sudo crontab -e
* * * * * php /var/www/pterodactyl/artisan schedule:run >> /dev/null 2>&1
Configure to Run in the Background
Next, we need to create a new systemd worker to keep our queue process running in the background.
sudo nano /etc/systemd/system/pteroq.service
# Pterodactyl Queue Worker File
# ----------------------------------

[Unit]
Description=Pterodactyl Queue Worker
After=redis-server.service

[Service]
# On some systems the user and group might be different.
# Some systems use `apache` or `nginx` as the user and group.
User=www-data
Group=www-data
Restart=always
ExecStart=/usr/bin/php /var/www/pterodactyl/artisan queue:work --queue=high,standard,low --sleep=3 --tries=3

[Install]
WantedBy=multi-user.target
Enable the redis-server service to run at boot:
sudo systemctl enable --now redis-server
Enable our pteroq.service to run at boot:
sudo systemctl enable --now pteroq.service
Cerbot SSL Encryption and Webserver Setup
That completes the setup for the panel itself. Now we will move on to configure the webserver. The first thing to do is to install certbot and use it to generate an SSL certificate for our domain.
sudo add-apt-repository ppa:certbot/certbot
sudo apt update
sudo apt install certbot
After, we will use certbot to run a standalone minimal webserver for its configuration purposes. First, stop your webserver. We are using NGINX, so we will do the following:
sudo systemctl stop nginx
Then run the following command, be sure to change example.com to your domain.
certbot certonly -d example.com
Since we are using an SSL for this example, we will use the following configuration file for NGINX. This is saved in /etc/nginx/sites-available
nano /etc/nginx/sites-available/pterodactyl.conf
server_tokens off;

server {
    listen 80;
    server_name <domain>;
    return 301 https://$server_name$request_uri;
}

server {
    listen 443 ssl http2;
    server_name <domain>;

    root /var/www/pterodactyl/public;
    index index.php;

    access_log /var/log/nginx/pterodactyl.app-access.log;
    error_log  /var/log/nginx/pterodactyl.app-error.log error;

    # allow larger file uploads and longer script runtimes
    client_max_body_size 100m;
    client_body_timeout 120s;

    sendfile off;

    # SSL Configuration
    ssl_certificate /etc/letsencrypt/live/<domain>/fullchain.pem;
    ssl_certificate_key /etc/letsencrypt/live/<domain>/privkey.pem;
    ssl_session_cache shared:SSL:10m;
    ssl_protocols TLSv1.2;
    ssl_ciphers 'ECDHE-ECDSA-AES256-GCM-SHA384:ECDHE-RSA-AES256-GCM-SHA384:ECDHE-ECDSA-CHACHA20-POLY1305:ECDHE-RSA-CHACHA20-POLY1305:ECDHE-ECDSA-AES128-GCM-SHA256:ECDHE-RSA-AES128-GCM-SHA256:ECDHE-ECDSA-AES256-SHA384:ECDHE-RSA-AES256-SHA384:ECDHE-ECDSA-AES128-SHA256:ECDHE-RSA-AES128-SHA256';
    ssl_prefer_server_ciphers on;

    # See https://hstspreload.org/ before uncommenting the line below.
    # add_header Strict-Transport-Security "max-age=15768000; preload;";
    add_header X-Content-Type-Options nosniff;
    add_header X-XSS-Protection "1; mode=block";
    add_header X-Robots-Tag none;
    add_header Content-Security-Policy "frame-ancestors 'self'";
    add_header X-Frame-Options DENY;
    add_header Referrer-Policy same-origin;

    location / {
        try_files $uri $uri/ /index.php?$query_string;
    }

    location ~ \.php$ {
        fastcgi_split_path_info ^(.+\.php)(/.+)$;
        fastcgi_pass unix:/run/php/php7.2-fpm.sock;
        fastcgi_index index.php;
        include fastcgi_params;
        fastcgi_param PHP_VALUE "upload_max_filesize = 100M \n post_max_size=100M";
        fastcgi_param SCRIPT_FILENAME $document_root$fastcgi_script_name;
        fastcgi_param HTTP_PROXY "";
        fastcgi_intercept_errors off;
        fastcgi_buffer_size 16k;
        fastcgi_buffers 4 16k;
        fastcgi_connect_timeout 300;
        fastcgi_send_timeout 300;
        fastcgi_read_timeout 300;
        include /etc/nginx/fastcgi_params;
    }

    location ~ /\.ht {
        deny all;
    }
}
Next, link the file we just created to the sites-enabled folder and then restart nginx:
sudo ln -s /etc/nginx/sites-available/pterodactyl.conf /etc/nginx/sites-enabled/pterodactyl.conf
systemctl restart nginx
Docker Installation
That completes the setup for the webserver. Next up is to install and enable Docker
curl -sSL https://get.docker.com/ | CHANNEL=stable bash
sudo systemctl enable docker
Install and Configure NodeJS
When this completes, we will move on and install NodeJS.
curl -sL https://deb.nodesource.com/setup_10.x | sudo -E bash -
sudo apt install nodejs make gcc g++ -y

Configure the Pterodactyl Daemon
Next up we're going to install the daemon. Start by creating the daemon's folder and data folder. Move into the daemon's folder and download the daemon software with curl. Then install the software with NPM. Be sure to customize the <user>:<dockergroup> section to match your configuration.
sudo mkdir -p /srv/daemon /srv/daemon-data
sudo chown <user>:<dockergroup> /srv/daemon /srv/daemon-data
cd ~
curl -L https://github.com/pterodactyl/daemon/releases/download/v0.6.12/daemon.tar.gz | tar --strip-components=1 -xzv
mv * /srv/daemon
cd /srv/daemon
npm install --only=production
Configuring the Panel
Once you have installed and configured the daemon, the next step is to create a node on your Panel.
When this is completed, a tab named Configuration should appear when you view the node.
Simply copy and paste the code block on the configuration page into a file named core.json located in /srv/daemon/config and save it. You may also use the Auto-Deployment feature rather than manually creating the files.

To start the daemon, use the following command from the daemon's directory </srv/daemon/:
sudo npm start
Now that we've tested, we want to start the daemon when the server boots:
sudo nano /etc/systemd/system/wings.service
[Unit]
Description=Pterodactyl Wings Daemon
After=docker.service

[Service]
User=root
#Group=some_group
WorkingDirectory=/srv/daemon
LimitNOFILE=4096
PIDFile=/var/run/wings/daemon.pid
ExecStart=/usr/bin/node /srv/daemon/src/index.js
Restart=on-failure
StartLimitInterval=600

[Install]
WantedBy=multi-user.target
Now we will enable the newly created service.
sudo systemctl enable --now wings
FLUSH PRIVILEGES;
Testing the Panel
We can now visit our newly installed panel.

Below are a few helpful links to assist you with more in-depth information about Pterodactyl Panel.
https://pterodactyl.io/community/config/eggs/creating_a_custom_egg.html
https://pterodactyl.io/community/games/minecraft.html
https://pterodactyl.io/community/config/nodes/add_node.html
Join our Private Discord Chat to chat with, as well as find community assistance from other Verified SkySilk Users: https://invite.gg/SkySilk
Was this article helpful?
That’s Great!
Thank you for your feedback
Sorry! We couldn't be helpful
Thank you for your feedback
Feedback sent
We appreciate your effort and will try to fix the article